3.02.2010
unWanted: DIY Disaster
Posted by
Megean
on 3.02.2010
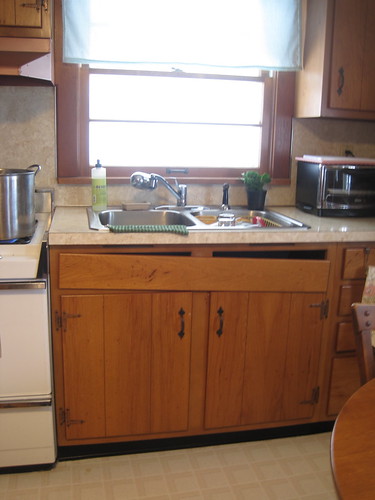
You know that little “fake drawer” panel under most sinks? Well mine found itself looking like this.
The fix was fairly simple actually – it involved crawling under the sink and re-attaching a bracket that came loose. I, however, wanted more from my fake-drawer panel. So I picked up a kit at Lowe's (to the tune of $16) that makes my panel a tip-out tray. Super useful.
After carefully reading the directions, I promptly figured they didn’t apply to me since my panel was already in disrepair. I should have known then that my project was doomed. The very first step was to climb under the sink and trace the inside of the panel where the openings are. Since my panel was already wonky my tracings weren’t very precise. So I just removed the panel completely and went to town.
I used my prybar to remove the remainder of the wood brackets.

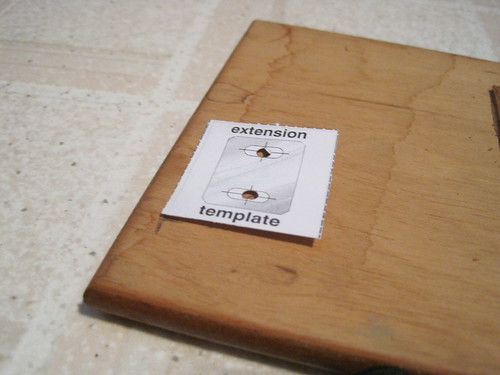
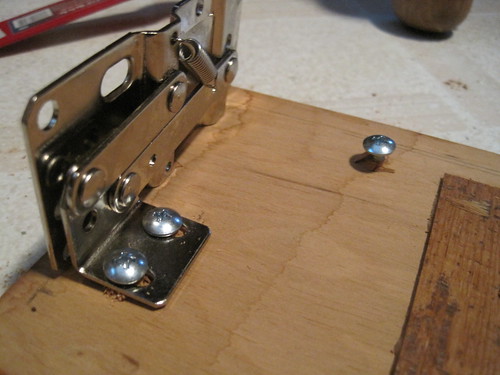
Next, I used the handy template provided by the kit to mark where my hinges would go (based on my previously wonky tracing). After marking the holes for my hinges, I used my drill to make pilot holes. This is where I met another kink in my plans. My cabinets aren’t as thick and sturdy as most cabinets. I guess you could say my cabinets are wimpy. Because they are thin, I couldn’t screw my hardware in completely (for fear the screws would show up on the front side – not cool).


When it came time to attach the hardware I first attached the hinges to the panel, and then attached them to the cabinet. There are no pictures of this part because I’ve only got two hands. Suffice it to say that this project requires more than two hands.
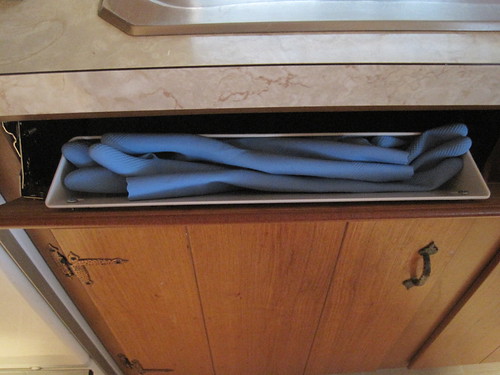
Alas, this is the end result. Yep, still crooked (see that gap at the top right corner?). One of these days I’ll take it all apart and put it back together again.


To recap, this is where I went wrong:
- Inaccurate tracings and measurements
- Failure to plan for wimpy cabinets
- The limitation of being born with only two hands
Don’t be discouraged though, the kit is actually really simple to use and the directions are easy to follow (should you choose to go that route). Stay tuned for a follow-up article on how difficult it is for single gals to be handy without some help – that whole two hands thing really slows things down!
DIY Disclaimer: I am by no means an expert DIY-er. I don’t always do things the “right” way, or even the “easy” way; I do however, enjoy myself and I am usually pleased with the results - usually.
(images: Megean)
Subscribe to:
Post Comments
(
Atom
)
popular posts
-
Welcome back from the long weekend! To start things off with a bang this week I want to share what is probably my biggest DIY project to da...
-
I was recently asked for some ideas on throwing a fab Stock the Bar party (my favorite kind of fete to throw before impending vows – couples...
@wantedtweets
just pinned
© wanted. 2013 . Powered by Bootstrap , Blogger templates and RWD Testing Tool


Roommate. This is by far the funniest post. I love how you put it back on crooked and then put the disclaimer at the end. Who cares if your fancy new pop out tray didn't work perfectly. It was a perfectly hilarious blog post.
ReplyDelete